Storyboarding is an essential part of the pre-production process in the film and television industry. It allows filmmakers to visualize their ideas, plan shots, and communicate their vision to the entire production team. This guide will provide you with a step-by-step approach to creating effective storyboards that enhance the storytelling process and streamline production.
- Understanding Storyboarding: a. Definition: Storyboarding is a visual representation of the narrative, shot by shot, using illustrations or images to outline the key scenes, camera angles, composition, and movement. b. Purpose: Storyboards serve as a blueprint for the production team, helping them understand the director’s vision and ensuring consistent execution. c. Benefits: Storyboarding helps with shot planning, identifying potential issues, estimating resources, and aligning the creative team’s expectations.
- Preparing for Storyboarding: a. Script Analysis: Read and analyze the script to grasp the story’s structure, key scenes, and character dynamics. b. Collaboration: Discuss the script and vision with the director, cinematographer, and other key team members to gain insights and gather input.
- Tools and Techniques: a. Traditional Storyboarding: Use paper, index cards, or a storyboard template to sketch and annotate each shot. Number the panels for easy reference. b. Digital Storyboarding: Utilize software applications (e.g., Adobe Photoshop, Storyboarder, or Toon Boom Storyboard Pro) to create digital storyboards, allowing for easy revisions and collaboration.
- Framing and Composition: a. Shot Types: Identify the appropriate shot types (e.g., wide shot, medium shot, close-up) to convey the desired emotion, perspective, and information. b. Camera Angles: Determine camera angles (e.g., high angle, low angle, Dutch angle) to enhance storytelling and create visual interest. c. Rule of Thirds: Compose shots using the rule of thirds to achieve balanced and visually appealing images.
- Visualizing Action and Movement: a. Action Sequences: Create sequential panels to illustrate the flow of action and movement, ensuring clarity and continuity. b. Camera Movement: Indicate camera movements, such as pans, tilts, and tracking shots, to communicate the desired cinematic effect.
- Annotating and Additional Details: a. Shot Descriptions: Include shot descriptions to clarify the action, dialogue, and key elements in each panel. b. Camera Specifications: Provide additional details like focal length, lens choice, and camera movements to guide the cinematographer. c. Notes and References: Add relevant notes, references, or visual examples to assist the production team in understanding the intended mood and aesthetic.
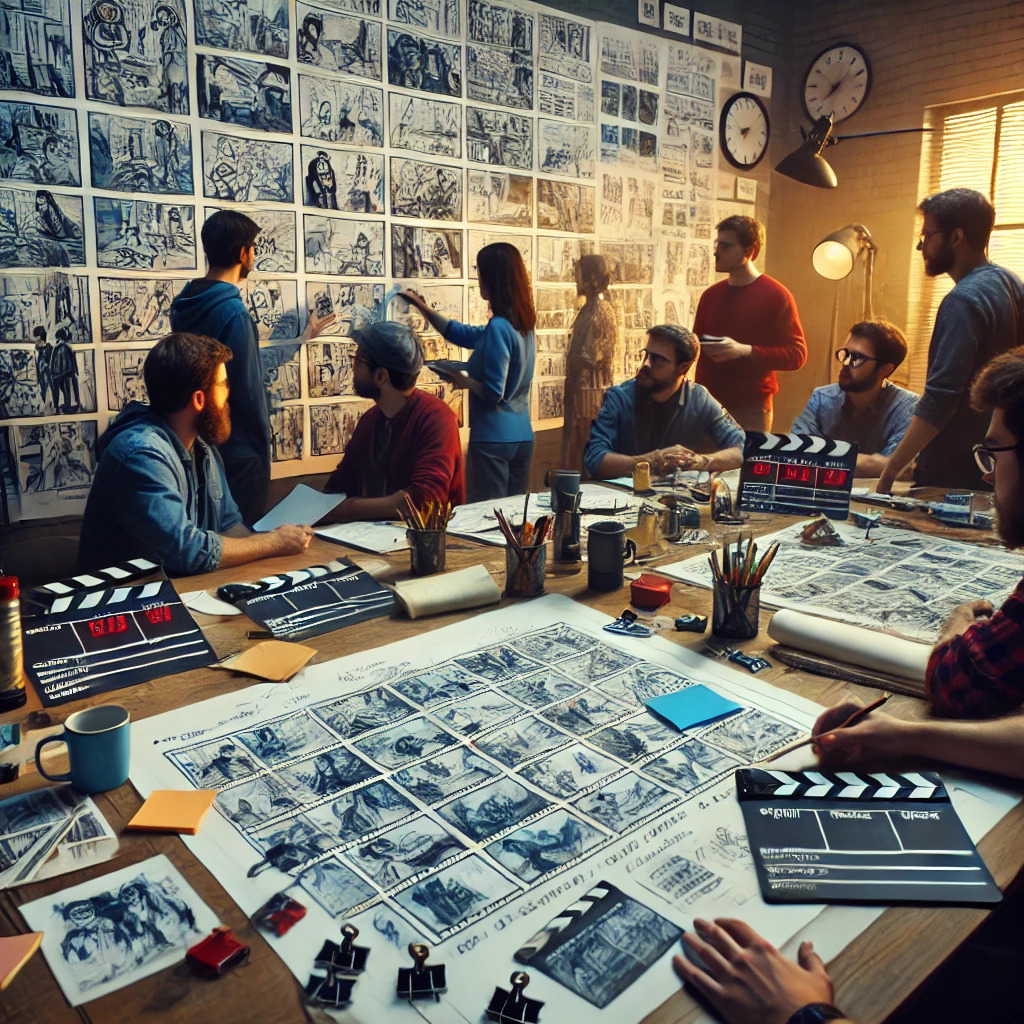
- Collaboration and Feedback: a. Sharing Storyboards: Share the storyboards with the director, cinematographer, production designer, and other relevant team members for feedback and alignment. b. Revisions: Incorporate feedback, make necessary revisions, and update the storyboards accordingly.
- Finalizing Storyboards: a. Presenting Final Storyboards: Organize the storyboards in a logical order and create a digital or physical storyboard book for easy reference during production. b. Shot List and Shooting Schedule: Use the finalized storyboards to create a shot list and shooting schedule, ensuring efficient production.
Conclusion: Storyboarding is a powerful tool for filmmakers, enabling effective planning, communication, and execution of visual storytelling. By following the steps outlined in this guide, you’ll be well-equipped to create comprehensive and visually engaging storyboards that enhance the film and television production process. Remember, storyboarding is a flexible process, so adapt it to suit your creative needs while maintaining clear communication and collaboration with the entire team.